Top Five Transportation Challenges for Medical Packaging

Challenge #1: What do I test?
Whatever is the current representation of your medical device, the answer to this question for most manufacturers is the same: test its worst-case product packaging system. Going a step further, by testing the “bookends” of the device, you can preempt many potential issues down the road. By bookends, we identify what is the largest or heaviest component and then what is the smallest or lightest component. These represent the most vulnerable aspects and likely contributors to packaging failures.
Beyond the physical properties of a device that interact with packaging, new considerations continue to arise. Global changes from all perspectives (regulatory, supply chain, materials) affect worst-case scenarios in unforeseeable ways. Now, it is more critical than ever to understand your distribution path. We often see this when a client has a bulk configuration that is sent to sterilization. Maybe you send a few units or a mixed configuration that doesn’t need to be the biggest or heaviest, but the packaging is not designed specifically for one component or the other. Does that packaging address the worst-case scenario?
Challenge #2. How do I know what dynamic forces to focus on during design?
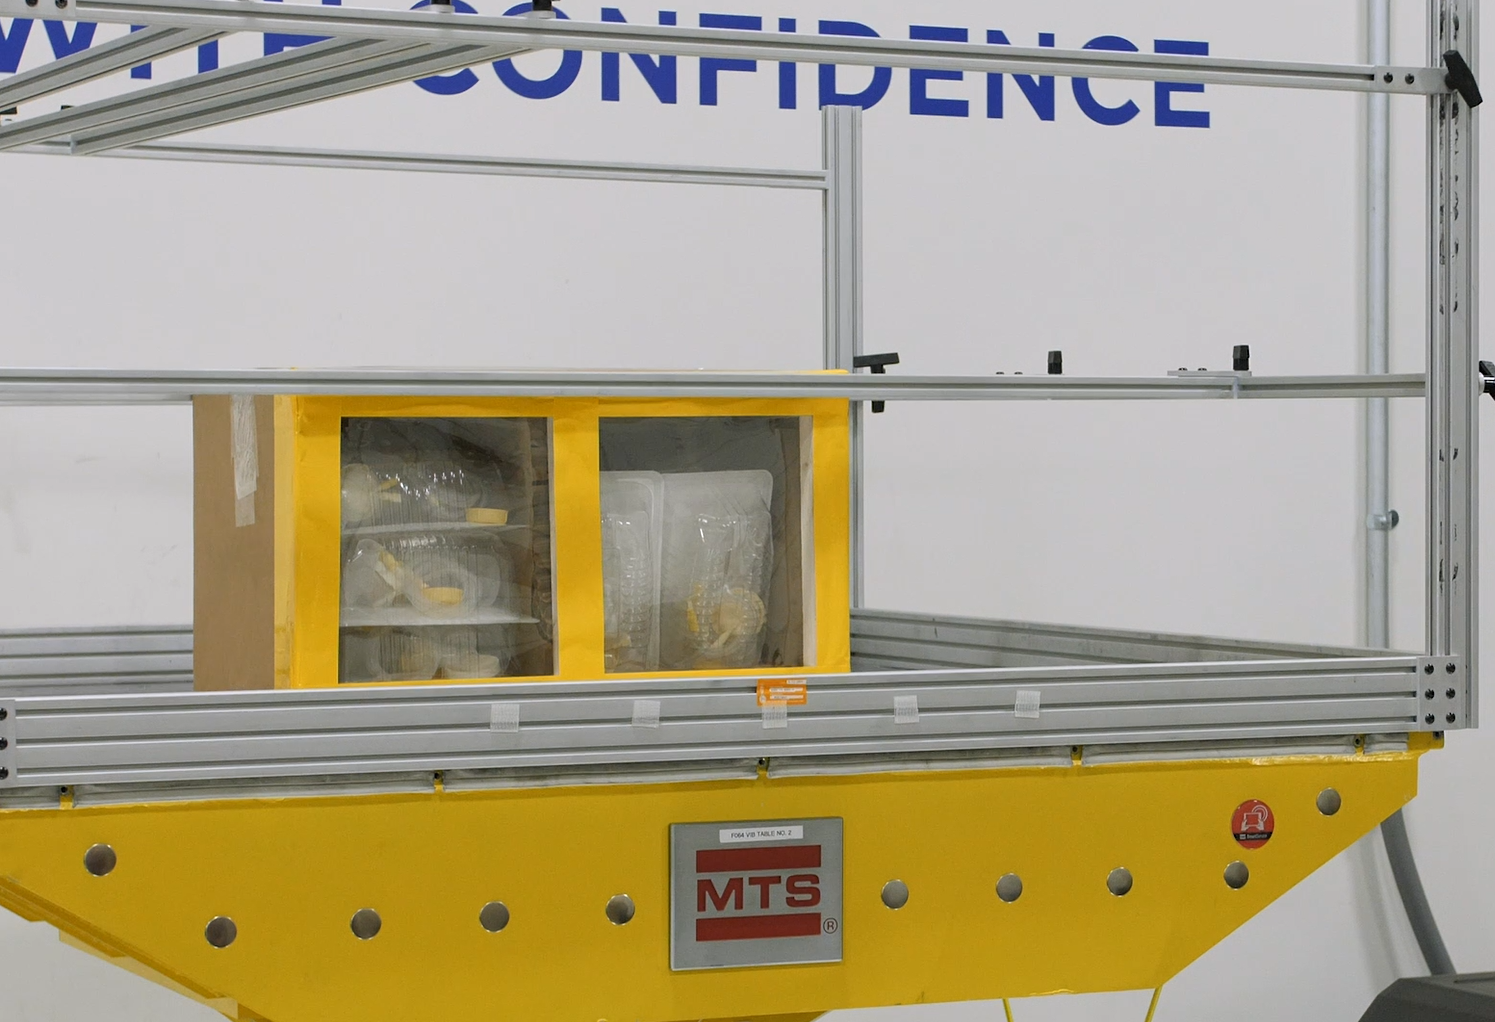
To start with, consider the full list of dynamic forces your packaging would encounter during distribution: shock and vibration, compression, temperature, humidity, mode of transportation, and pressure. Your packaged device may face all of these during formal distribution testing, so it makes sense to anticipate and address those most likely to affect your product. Again, look to your distribution path for those answers.
Let’s say you know that your distribution path will include a lot of shock and vibration, causing your device to experience persistent movement. By addressing these factors during packaging design, you can incorporate solutions, such as using HDPE CleanCut backer cards, to mitigate risk. Another example would be a point or protrusion on the device – maybe a high- performance, puncture resistant material wins over one with flex cracking properties.
Regarding compression, is the product inside the carton load bearing? If not, you should rely more heavily on the secondary packaging system to protect the inner product. This scenario should be tested with an edge crush test for secondary packaging or designed with double wall or stronger, or single wall construction of 44ECT (275# Burst) or stronger to test out of Schedule J. Your testing should prove that your packaging has compression properties sufficient to withstand the comprehensive crush test it will face later.
Pressure is another huge component. We’ve all seen chip bags at different altitudes. By including pressure design inputs at the beginning, unwanted bursts can be prevented. Use of Tyvek or another porous material will allow you to test out of Schedule I and can eliminate failures due to dynamic forces of pressure and high altitude during ISO 11607-1 transit testing.
Knowing your product and the packaging system you will also help you determine what other packaging features (i.e., backer cards, tip protectors or a TPU sleeve) should be considered—again, think early inputs. The key is understanding what dynamic forces the packaging will be subjected to before seal validation. That approach puts you ahead of everyone who believes “I just need something that fits.” It pays to challenge yourself by asking and answering in advance what could go wrong.
Challenge #3: When should I perform distribution testing?
A simple timeline validation process will indicate to do this after sealing validation, at the same time as PQ qualification, but it must come after OQ. That may be fine, but this shouldn’t be the first time you’re aware of what transit could do to your packaging system. This is why we say test early, test often! Feasibility testing is inexpensive and easy. Some simple prototypes exposed to dynamic forces during feasibility testing can predict what could happen months down the road during your formal distribution testing validation.
The other recommendation is to test multiple design types. If working with different vendors or materials, test them all, now. It is easier to eliminate the source of failures before seal validation than learning a film was too easily punctured and you must source a new one. On the flip side, nobody wants to over-engineer. By testing multiple materials and configurations during feasibility, you can be creative with prototypes or rough samples to get the shape or look you want and proceed with them. It really gives some confidence going through the rest of your packaging validation.
Challenge #4. What do I need to include in distribution testing?
A frequent question we hear from customers is whether accelerated aging should be included. The language written within the ISO 11607-1 standard separates stability testing from distribution testing. Additionally, by combining stability and distribution testing you risk wasting time and impact your ability to conduct a root cause analysis. For example, if you’re testing a one-year shelf-life claim, combining these tests could pose a ~40-day setback in identifying transit failures while the samples are in an accelerated aging chamber. If we see failure at the end of a product packaging system that’s gone through accelerated aging, climate, and transit testing, we cannot easily discern what originated from stability testing and what was from distribution testing. Root cause analysis becomes much easier when you separate those two things.
Additionally, I get a lot of questions regarding use of ISTA 3A or ASTM D4169, DC13. My answer is to understand the two standards in addition to your product packaging system. They are both FDA recognized and worst-case transit simulation standards subjecting your samples to dynamic forces. However, one key difference is that ISTA 3A specifies vibration with compression top load, while ASTM separates compression and vibration. So, if the product packaging system is load bearing and can maintain a compressive weight, maybe you would consider going with ISTA 3A. That’s not specific advice, consider the performance features of your product packaging system before selecting your standard. And as a general rule, once you go down a road with a standard, stick with it. The FDA looks for consistency. If you’ve previously used one standard and you switch, there may be a red flag: why did they switch?
Challenge #5: I experienced a failure, now what?
First, keep breathing. You are not alone. Having worked with startups all the way up to Fortune 500, everyone experiences failures. First, conduct a root cause analysis to find out which dynamic force caused the failure. Second, make list of low, medium, and high mitigation pathways based on the level of impact each has on time, cost, and effort. When you’ve done all the up-front work discussed here, you may not need to start with redesign of the primary packaging system.
An example, if there is movement of your primary packaging within your secondary packaging, a low impact mitigation could be to add paper dunnage or cushioning to the secondary packaging. This mitigation pathway would not affect any sealing validations of the primary packaging system.
Another scenario would be if the device itself is causing failures. Here, a medium impact solution within your sterile barrier system might indicate adding a HDPE CleanCut backer card for support, or a tip protector for something that can poke through.
A high impact scenario would involve a redesign solution (which we hope you don’t encounter) that analyzes original specifications and design inputs. Is our product just too heavy for a pouch? Do we need a tray? Did we use pouch stock that didn’t have sufficient puncture resistance? Maybe we need 100-gauge nylon, and so on.
The bottom line is that in case of failure, classifying your mitigation options will save time. Using your root cause analysis and engineering expertise will help find a solution that doesn’t put you back to square one.


